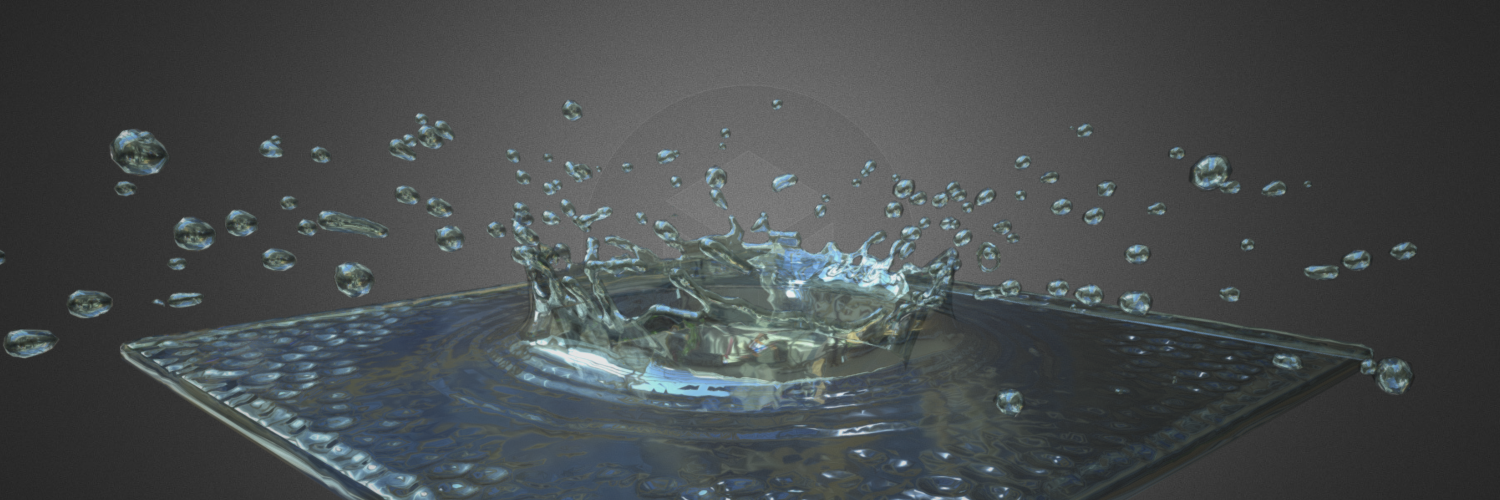
Sketchfab Master Jakob Baldwin uses Sketchfab stop motion to publish fluid simulations. This tutorial is part of our Special Effects series.
Fluid simulation can be tricky to create, really difficult to make realistic and it’s not really possible to upload and display natively on Sketchfab, but there is a workaround.
Here is an example of fluid simulation in Sketchfab (warning: the embeds in this article are quite heavy):
This tutorial is meant for Blender, but the general principle works for all 3D applications. In short, Sketchfab supports stop-motion animation: If you bake your water simulation and then export as an Alembic file, Sketchfab will display the models realtime in stop motion. Basically, you’ll be uploading a series of models which sketchfab will display in rapid succession (heavy scenes incoming).
Creating your fluid animation
I won’t go into details on this part, but Digital-Tutors has a great tutorial on fluid simulation with Blender. All the options for fluid simulations can be found here in your Properties window. For a basic setup like the one above, there are then 3 steps:
- Create your shapes: a large box, with your fluid starting shape (i used a simple sphere) inside the box
- Go to both shapes and press the enable Fluid physics button, then, under fluid settings change the box’s type to “Domain” and your fluid shape to type“Fluid”
- Select your domain object again, set the final resolution and click the “Bake” button
Wait a bit, and press alt+a to play your fluid simulation! If you want to add static objects, create them, and if you want them to interfere with your fluid, give these objects an “Obstacle” under fluid settings.
Exporting to Alembic

 Instead of having to write a bothersome .timeframe file, you can export as a .abc file within Blender, then upload this file straight to Sketchfab. Select your domain object only, make sure it has “smooth” normals (otherwise you get discolouration in Sketchfab), and then export as Alembic .abc and be sure to tweak your export settings.
Under export settings, set your end frame to where your animation end, check “Selected objects only” if you only want your selected domain object to export, and you can uncheck UV’s since they won’t be used at all. The resulting single file can be uploaded to sketchfab and is ready for post-processing. Be sure to set the animation to start playing by default under animation settings!
-Thanks to user MeepJJ for this much faster workflow!
Post processing on Sketchfab
 Now your fluid simulation is uploaded, head to 3D settings and remember to set the model to start with animation playing. Afterwards go under your material and play around with the settings until you’re satisfied with your fluid.
For realistic fluid like the one to the right I would recommend PBR with following settings:
- A light blue albedo colour
- A metalness value of 100,
- A very low roughness value of about 3-7.
- A high specular value (Mine here is 87).
- About 50% transparency, either blend or additive.
- Also decide on whether you’re going single sided or double sided, both options have their charm.
You can also experiment around with a more cartoony, simple blue fluid, BUT remember that you can’t really add textures to your fluid, since the geometry changes around every frame. (Well If you’re up for it you could, but it would take some time + many textures).
Technical discussion
Fluid simulations are really heavy for Sketchfab to display, since you’re essentially uploading 100 or more large geometries, and Sketchfab has to load all of it. After experimenting around, I’ve come to these conclusions on increasing performance:
- Keep it short. For every second you want to show, you’re uploading another 30 or so meshes.
- Keep it simple. The aforementioned resolution setting you set before baking decides how complex each mesh becomes. Set resolution to 10 and you could upload a one minute long fluid simulation, but it will look ugly. Set resolution to 200 and you’re looking at two seconds of beautiful fluid animation before your browser crashes. I used 45 and 60 for my three scenes.
- It also seems like your setup matters, if you’re throwing fluid at more fluid (see tap scene below), the total polygon count for each mesh is still quite low, but if you’re throwing fluid at a floor, it splits up and every droplet creates more geometry, especially under higher resolutions. A good solution is to delete droplets with an “outlet” geometry.
- A really good way to get more precise fluid simulation WITHOUT increasing your polycount, is to set the resolution very high when baking the simulation, but before exporting, you put a “decimate” modifier on your domain object. For example, if you’ve tested and found that a resolution of 150 works for your scene, bump it to 300 and then throw a decimate with a 0.5 value on the model, it will halve the polycount, but keep all the small drops
Have fun playing around with fluid!


